
About Tailscale
Tailscale utilizes a mesh VPN creating a private, encrypted network, what they call a tailnet. Tailscale spans all devices, regardless of the physical location. Tailscale employs WireGuard, a modern VPN protocol, which handles the encrypted transport between devices. In contrast to a traditional VPN where every packet is routed through a central concentrator, Tailscale devices are connected to each other, forming a peer-to-peer mesh.

A coordination server distributes public keys and access policies allowing machines to find each other and traverse NAT.
The encrypted traffic itself flows between devices, and never touches Tailscale’s infrastructure.
As machines join the tailnet, authentication is handled through an identity provider (e.g., Google, Microsoft, Okta, GitHub, etc.) rather than sharing a static key or password, so access is tied to a user account that can be granted or revoked centrally. ACL policy is configurable to define which users & machines are allowed to reach which devices & ports.
As a result, the network behaves like a single LAN with capability to connect servers, laptops, VMs, cloud instances all within one accessible network, from anywhere in the world.
Initial Setup
Within Proxmox Virtual Environment, I created a Linux container (LXC) as my initial tailscale node— tailscaleprd1. For the LXC specifications, I provisioned the LXC with 4 cores and 8GB RAM, and 8GB of disk space.

TUN Access & Tailscale Interface Creation
By default, the unprivileged LXC doesn’t expose the host’s
/dev/net/tun device, which is required for Tailscale to create the virtual interface for the VPN tunnel. The following settings, this will grant permission to the TUN device, and mount the interface allowing Tailscale to reach it.To do this, through Proxmox’s host node shell, use the following command to edit the .conf of the LXC:
Add & save the following lines:

DHCP Reservation
Though not required, I configured a DHCP reservation within my router to reserve the IP address assigned to tailscaleprd1.
Grabbing the machines IP:
Configuring DHCP reservation within ExperienceOS:

Install Tailscale
Now that TUN access is granted, and the tailscale interface is created, we can spin up tailscale in the tailscaleprd1 node with one command:
NOTE: This command is for Linux machines only.

Once installation is complete, you can run the following command to invoke the tailscale process
tailscale up -sshVisit the designated URL and authenticate through your desired Identity Provider (IdP).

Once authenticated, you will see a similar screen to connect a second device.

In my case, I wanted VPN access to my homelab, specifically my Proxmox web GUI, so I deployed tailscale on my Proxmox host node— pve1. We can do this by repeating the same install command as before.

After authenticating the second device to the tailnet, you now have an encrypted WireGuard tunnel.
Subnet Router vs. Adding Individual Devices
Initially, I kept repeating the process by adding more devices to the tailscale, however I realized this wasn’t my goal— my goal is to have an encrypted VPN tunnel to my entire network, where all devices can communicate with each other regardless of physical location.
After researching further into Tailscale capabilities, I came across Tailscale Subnet Routers, which provided what I was looking for.
Per Tailscale documentation, Tailscale subnet routers allow you to extend your tailnet to include devices that don’t or can’t run the Tailscale client, acting as a gateway between your tailnet and physical subnets, enabling secure access to legacy devices, entire networks, or services without installing Tailscale everywhere.
Setting up Subnet Router within Tailnet
To achieve the subnet router functionality within my tailnet, you must enable IP forwarding within the kernel. To do so, you can execute the following commands in your initial tailscale node (in my case, tailscaleprd1).

After executing the IP forwarding settings to
etc/sysctl.d/99-tailscale.conf and running sysctl -p to apply them returned a command not found error and a warning that IP forwarding is disabled. This was due to sysctl residing in /usr/sbin, which wasn’t included in the shell’s $PATH. To fix this, I executed the absolute path to apply the settings:To validate the output of
/etc/sysctl.d/99-tailscale.conf and ensure the IP forwarding settings applied correctly, you can run the following commands, which should return a value of 1.After IP forwarding settings are set, you must advertise your subnet routes via the following command:
sudo tailscale set --advertise-routes=192.0.2.0/24,198.51.100.0/24Make sure to replace the command with active subnets in your own environment.
Once done, you can verify the status of tailscale through
tailscale status.Lastly, the IP route must be approved within the Tailscale Admin Center.

As the route is now approved, the tailnet is now advertising the subnet
192.168.1.0/24 network to the tailnet and forwards traffic to it. Devices within the tailnet can now reach hosts on that LAN as if they were local, regardless of the location of the physical device without requiring Tailscale running themselves.Custom DNS — AdGuard
A side benefit of routing traffic through the tailnet is that devices connected remotely also use my home DNS server, AdGuard, for ad and tracker blocking — the same filtering that applies on the local network follows you wherever you connect from.
This is configured in the Tailscale Admin Center under DNS → Custom Nameservers, pointing to the LAN IP of the AdGuard instance.
Accessing Devices via Mobile
Now that the tailnet can access any device on the network, I tested this out by installing and connecting to my tailnet via my phone, which I was able to access my Proxmox Web GUI.

Windows RDP Workaround
One of the features I was looking to gain was being able to control my Windows PC remotely, which is possible through Tailscale. However, this is not possible with Windows 11 Home Edition as it does not support incoming Remote Desktop Connections.
So, I explored some other solutions and stumbled upon RustDesk, which is an open-source remote control alternative popular for self-hosting and security.
I installed the RustDesk .msi on both my Windows computers, and started getting into the security settings.
RustDesk Security Settings
As this needs to work remotely, the first thing I did was set a strong permanent unattended password and set up 2FA for any incoming connections.

Additionally, I enabled Direct IP access over a port I specified to allow for connecting directly to the machine IP or tailnet assigned IP.
Limiting IP Ranges - Firewall
Even though 2FA is enabled for any incoming connection, I wanted an implicit deny for any incoming RustDesk connections from outside my 192.x network, and my 100.x tailscale network. To do this, I set up a Windows Firewall Rule via PowerShell using the following command:
This rule effectively blocks any connection outside of the 100.x and 192.x networks.
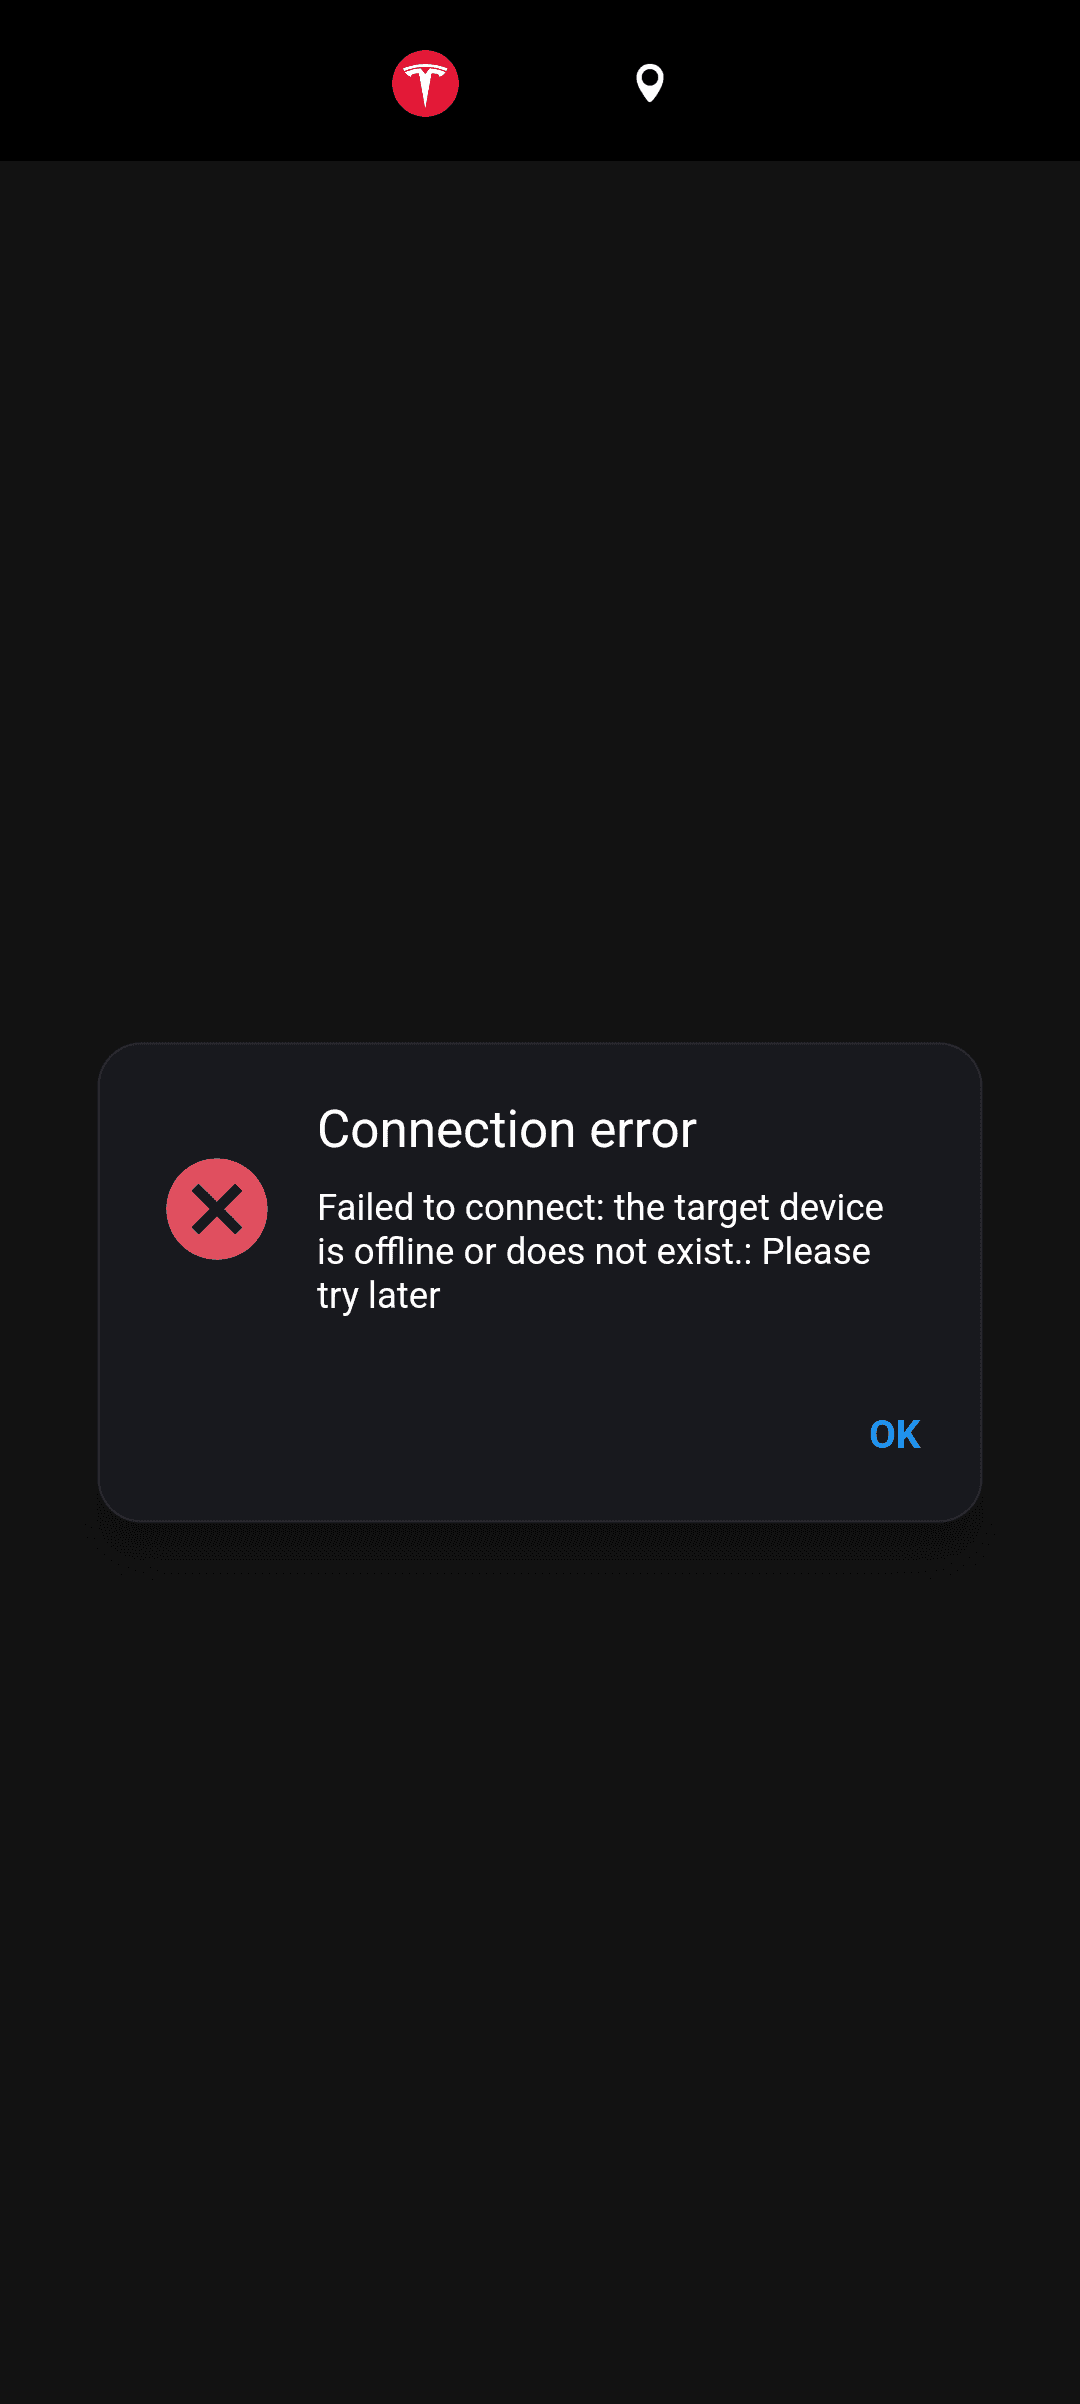
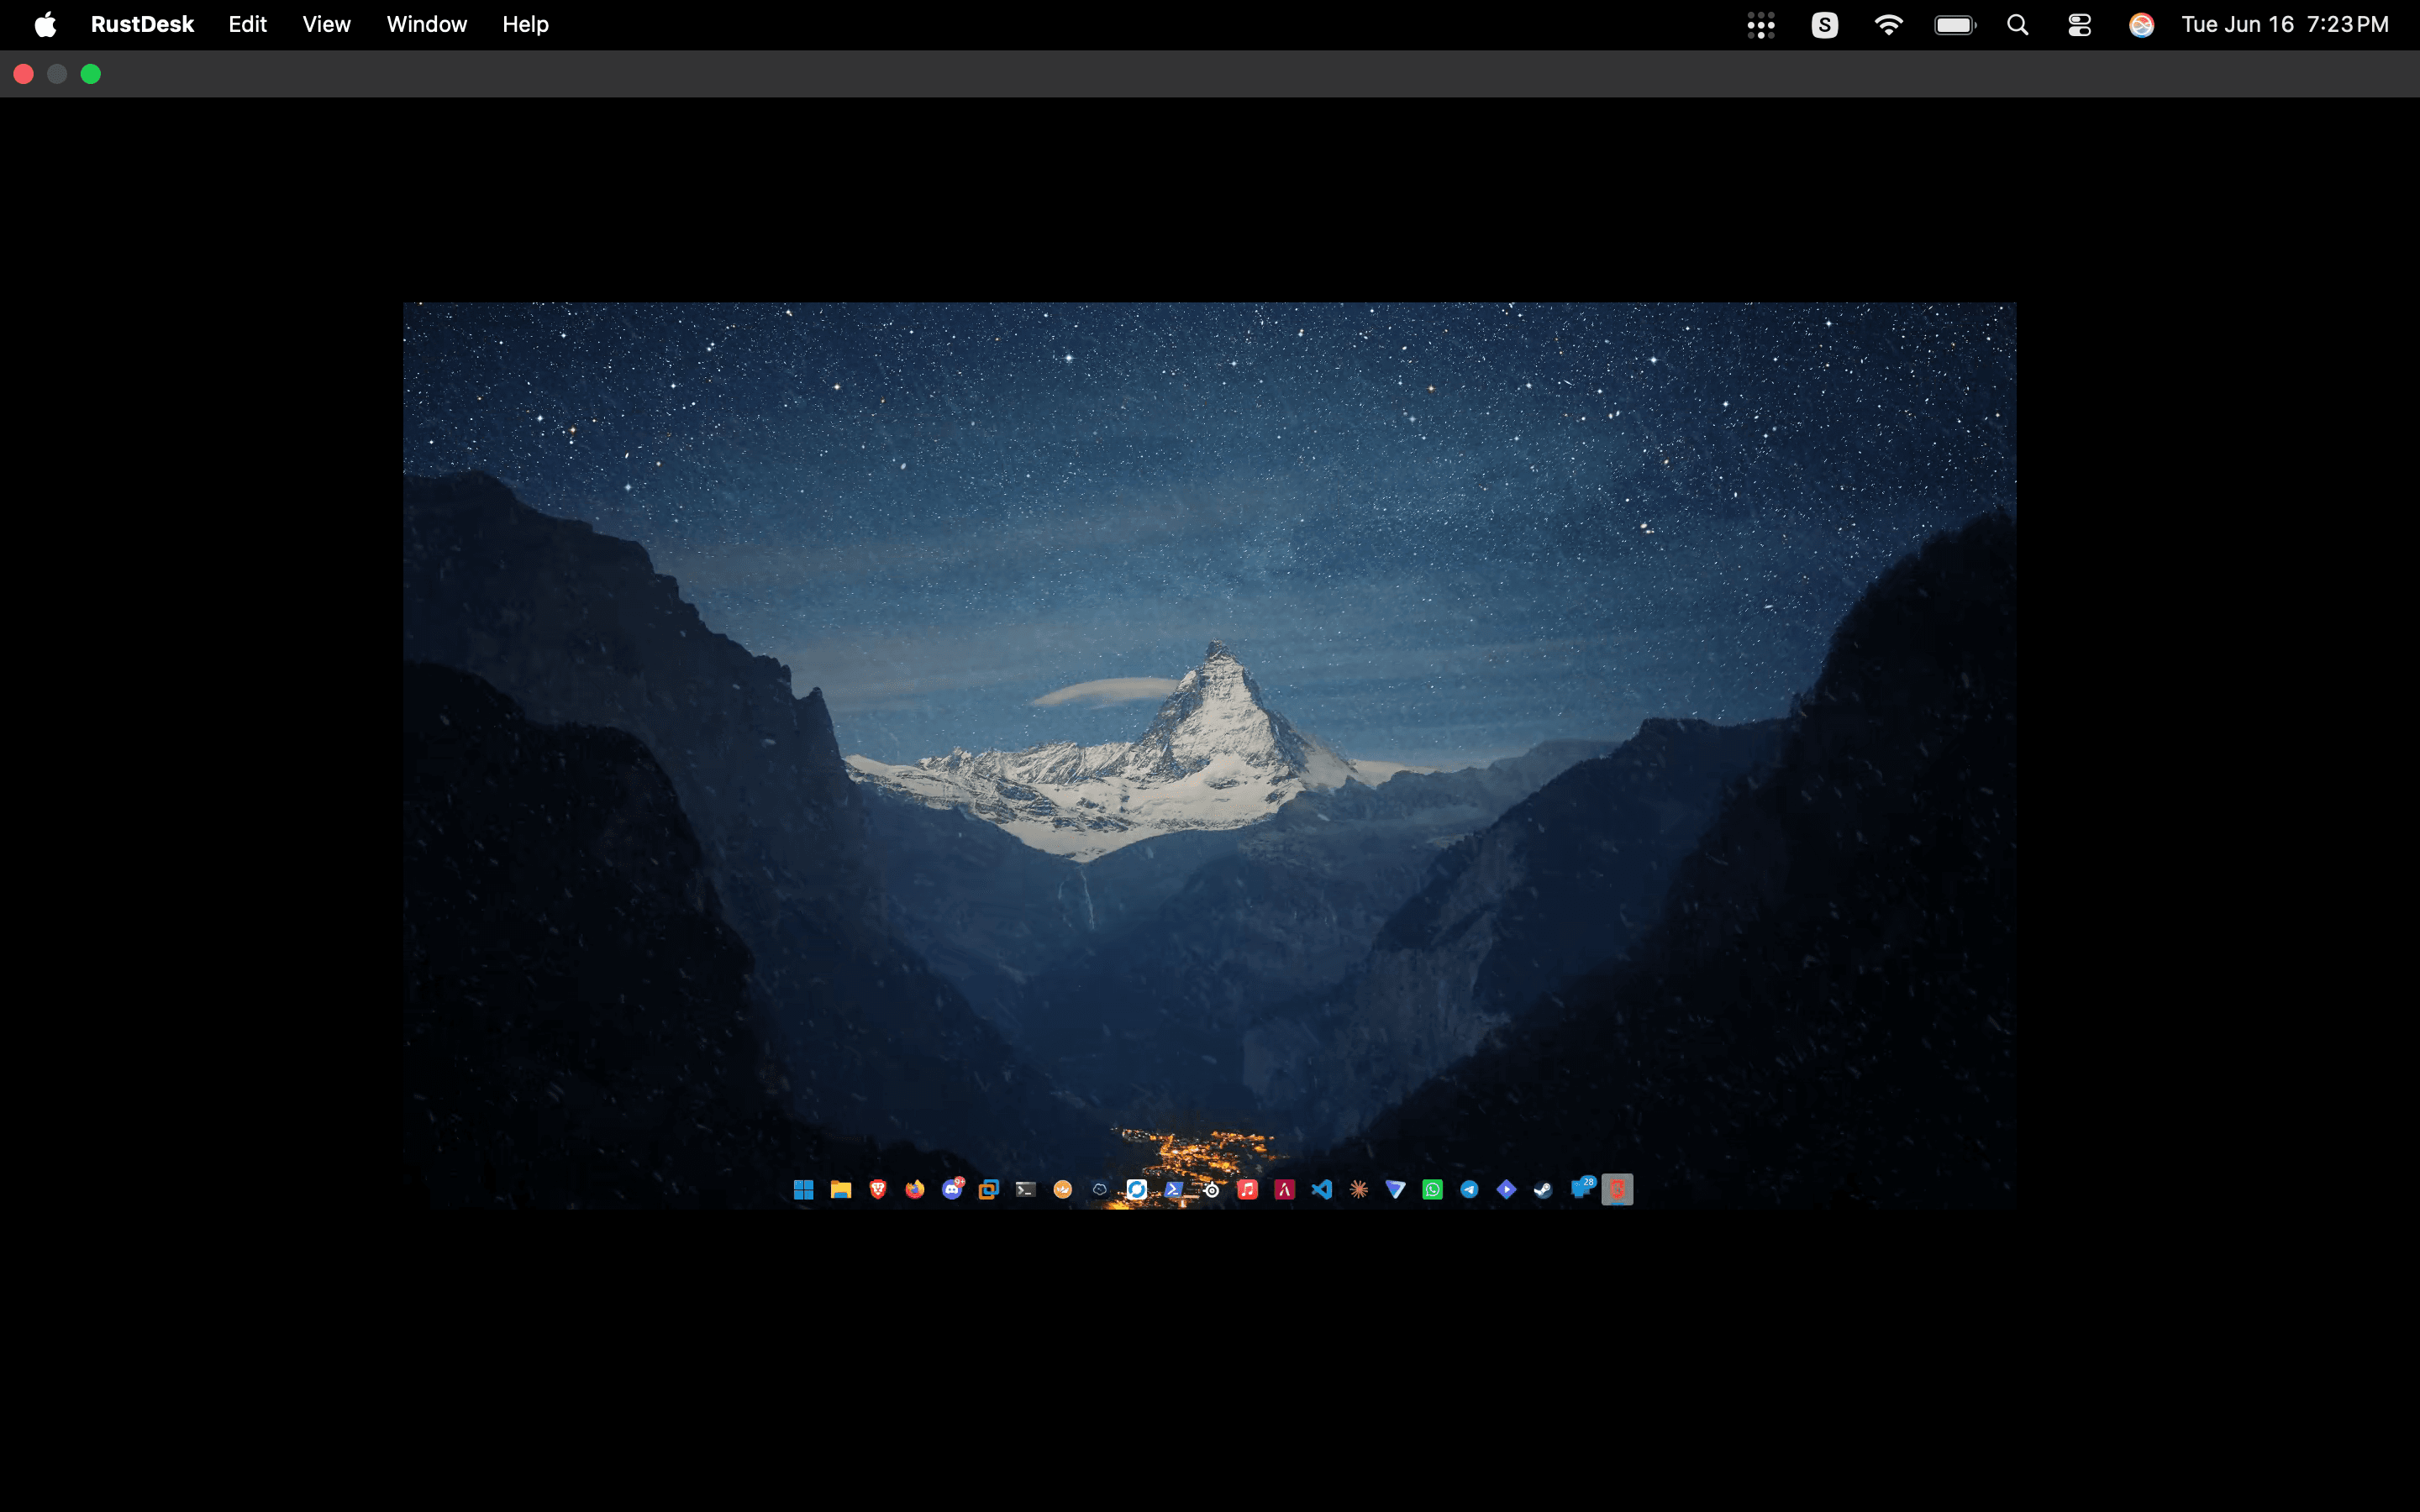
To test this and ensure it worked, I connected to Tailscale on my phone, and RDP’d into my main PC, which was allowed through the firewall.

And, to ensure it is blocking unknown incoming connections appropriately, I disconnected from the Tailscale VPN on my phone, disconnected from WiFi, and attempted the RustDesk connection, which was effectively blocked.
Accessing my Windows 11 PC via RustDesk:
Closing Thoughts
There’s a lot left to explore within Tailscale, but ultimately I’m really happy with setting up this VPN to access my home network, limit incoming RDP/RustDesk connections.